
It's that time of year again! Time to get crafty and start making your family Christmas stockings. But don't worry, you don't have to be an expert seamstress to make a beautiful stocking that everyone will love. With a little imagination, you can create a personalised stocking that’s filled with character and festive charm.
Whether you're looking for bright colours, unique patterns, or dazzling embellishments, our easy-to-follow steps will help you craft the perfect Christmas stocking in no time. So, find some fabric and supplies, gather the kids, and let's get started!
How to Create a Personalised Christmas Stocking
You will need:
- Fabric
- Needle and thread
- Scissors
- Fabric glue
- Fabric paint
- Embellishments (such as sequins, ribbons, glitter or buttons)
Step 1: Choose your materials
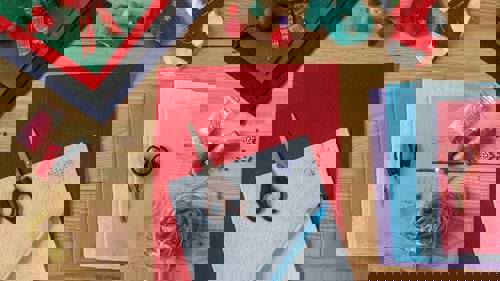
Begin by deciding on the fabric that you want to use for your Christmas stocking. You can choose from a variety of patterns and colours, depending on your personal style and preferences. For example, if you're looking for something festive and fun, try selecting a bright red or green fabric with Christmas-themed prints. Or if you prefer a more classic look, go for solid colours like navy blue or cream.
For the best results, opt for high-quality, thick fabric that will stand up to wear and tear over time. Felt is best for iron-on patches. You'll also want to choose a sturdy rope or ribbon for hanging your Christmas stocking, as well as any embellishments or decorations you'd like to include.
Step 2: Decide on a concept
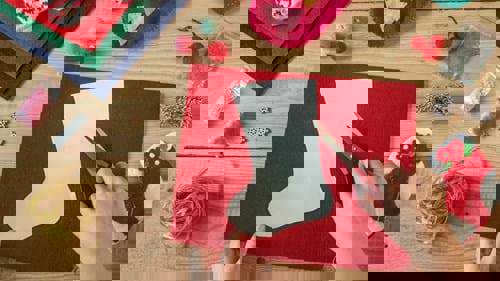
Once you’ve got your materials, it’s time to decide on a concept. Do you want a traditional red, white and green stocking with a fluffy cuff, or something simple and modern? Consider focusing on a theme. This could be your favourite part about Christmas, like a delicious roast, or something more aesthetic and understated like a simple pattern.
Whatever it is that makes you feel jolly, finalise a few fun ideas and begin designing your stocking around them.
Step 3: Sketch out your design
Whether you're going for a classic Christmas look with red and green hues or a more modern style with bright neon colours, be sure to sketch out your vision before getting started on your Christmas stocking. This will help you stay organised as you create each step of your stocking, ensuring that it turns out exactly how you imagined it.
When sketching your design make sure each side of the stocking has the same measurements. You can easily do this by placing an old stocking on your fabric and stencilling it with a pencil.
Step 4: Cut and sew your fabric pieces
With your design drawn out, it's time to cut out your fabric pieces and start sewing! Make sure that you leave a centimetre border around the stencil, so you have enough room for the seam line. You may want to use a sewing machine for this step, but if you don’t have one, you can hand-sew each piece for a more handmade look.
Step 5: Decorate

Once your Christmas stocking is sewn together, you can add any decorative touches that you'd like, from sequins and glitter to buttons and bows. This is a fun time to get the kids involved and let them personalise their own stockings.
Lay a few sheets of newspaper down and put out some fabric paints, paintbrushes, glitter, ribbons, glue and anything else that’s fun and festive. If you have any Christmas-themed cookie cutters, you can use them as stencils, too.
Encourage your family to be creative and really have fun with it. You can write your name in glue and sprinkle glitter over, or cut out different coloured letters from the leftover felt for a pop of colour–the sky's the limit.
Step 6: Hang!
After all your hard work, you're finally ready to hang up your custom Christmas stocking and enjoy it throughout the holiday season. Using a piece ribbon or rope, simply create a loop and sew it into the top left-hand corner of the stocking. Give it a tug to make sure it’s secure, and there you have it, a beautiful Christmas stocking you’ll cherish for years to come!
Make more room for crafts this festive season with Storage King! With a wide range of flexible and affordable personal solutions, you can safely store away your excess household items and create a fun craft zone for the family. Our modern storage units are also ideal for storing your Christmas tree and decor! Pop into your nearest location for a tour or get a quick and easy quote online today.


